Designing any space is a process, but especially when remodeling a kitchen. Phase one is creating the new floor plan, phase two is the mood board, and phase three are the renderings.
Once the new floor plan is drawn out and all the items are selected, sourced, and approved (see our previous post), it’s then time to implement all those amazing items into a 3D rendering. The rendering allows our clients to have a realistic view of the final remodel and helps them visualize how it will all come together. We take all the elements from the mood board from furniture, to countertops, to flooring and accessories to give our clients a visual from different angles.
Well, in this case, it is my kitchen and family room that I’m remodeling and even though I’m an experienced interior designer I needed the 3D rendering to conceptualize the project, to make sure the new island made sense and to get my families approval before I started construction.
Since many of our clients have us sign a none disclosure agreements and we’re unable to share details about many of our projects, I wanted to use my remodel to share with you the process, so that you know how we work as a full service design firm.
If you’ve followed along from the beginning you’ve seen our YouTube video, sharing the first day of construction, and you’re also able to see the before condition of my kitchen. Full transparency, I was a little embarrassed to share with you my 17 year old kitchen, but that’s what makes me even more excited and proud to share these renderings.
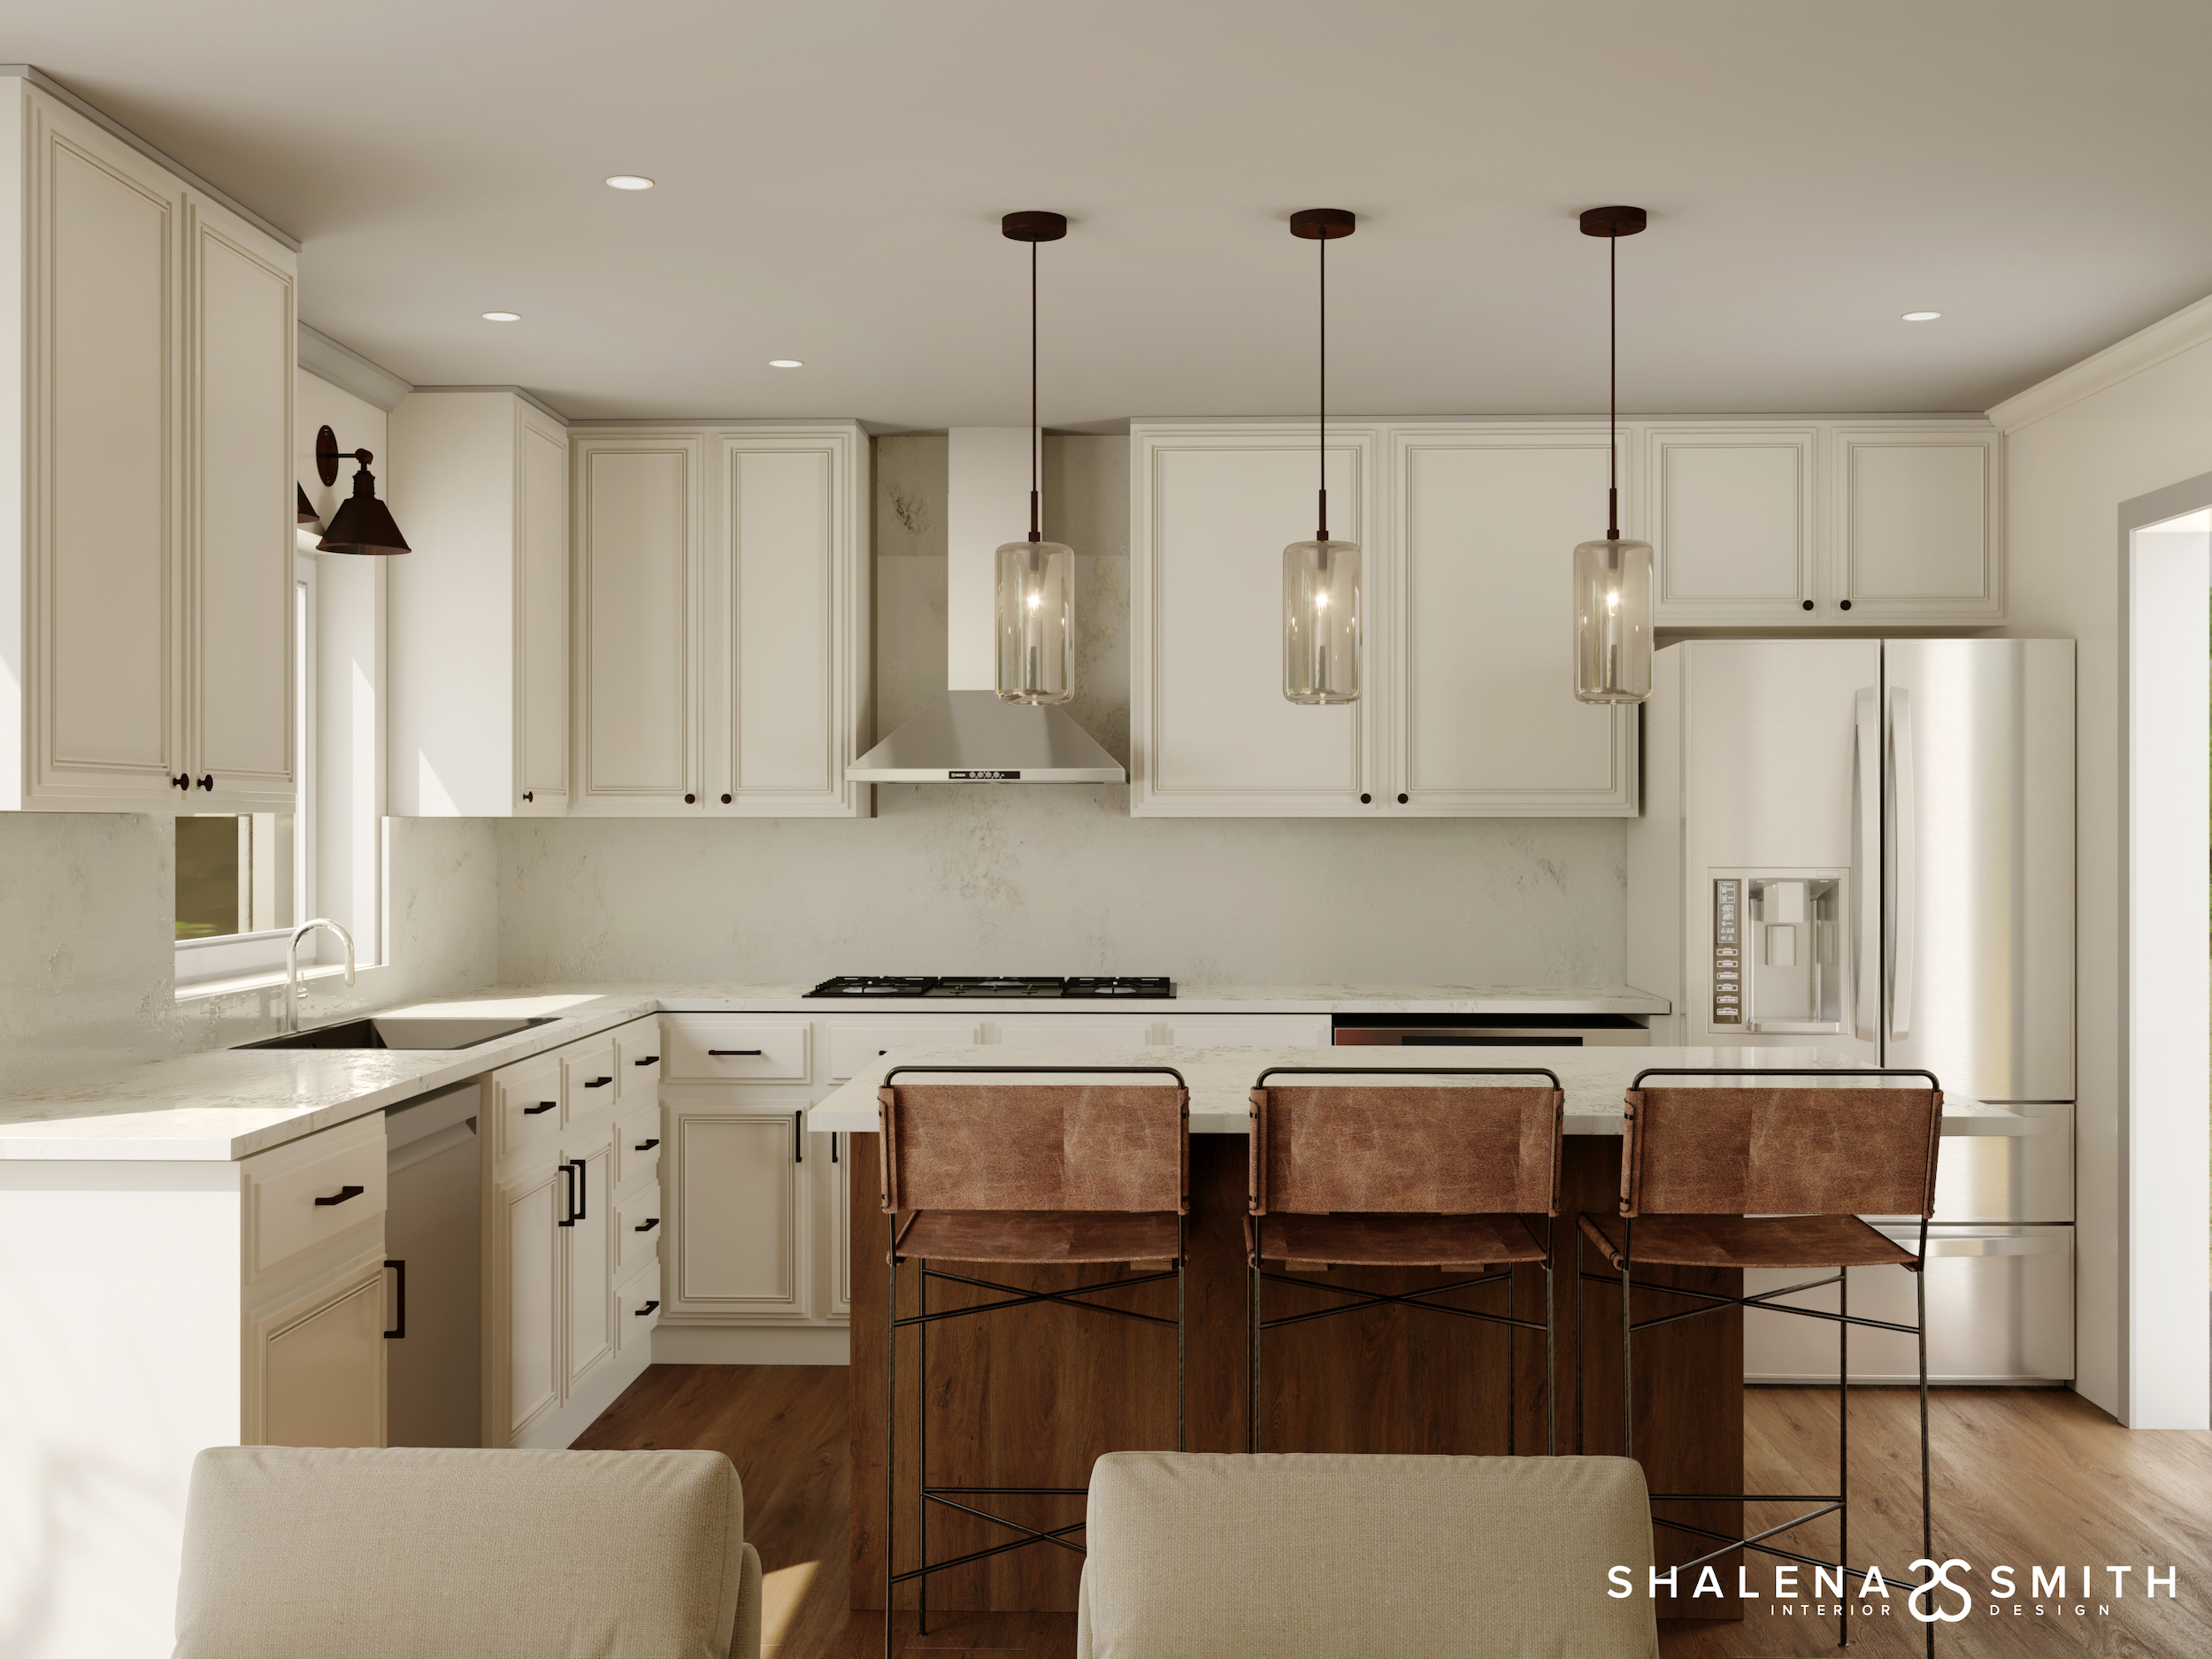
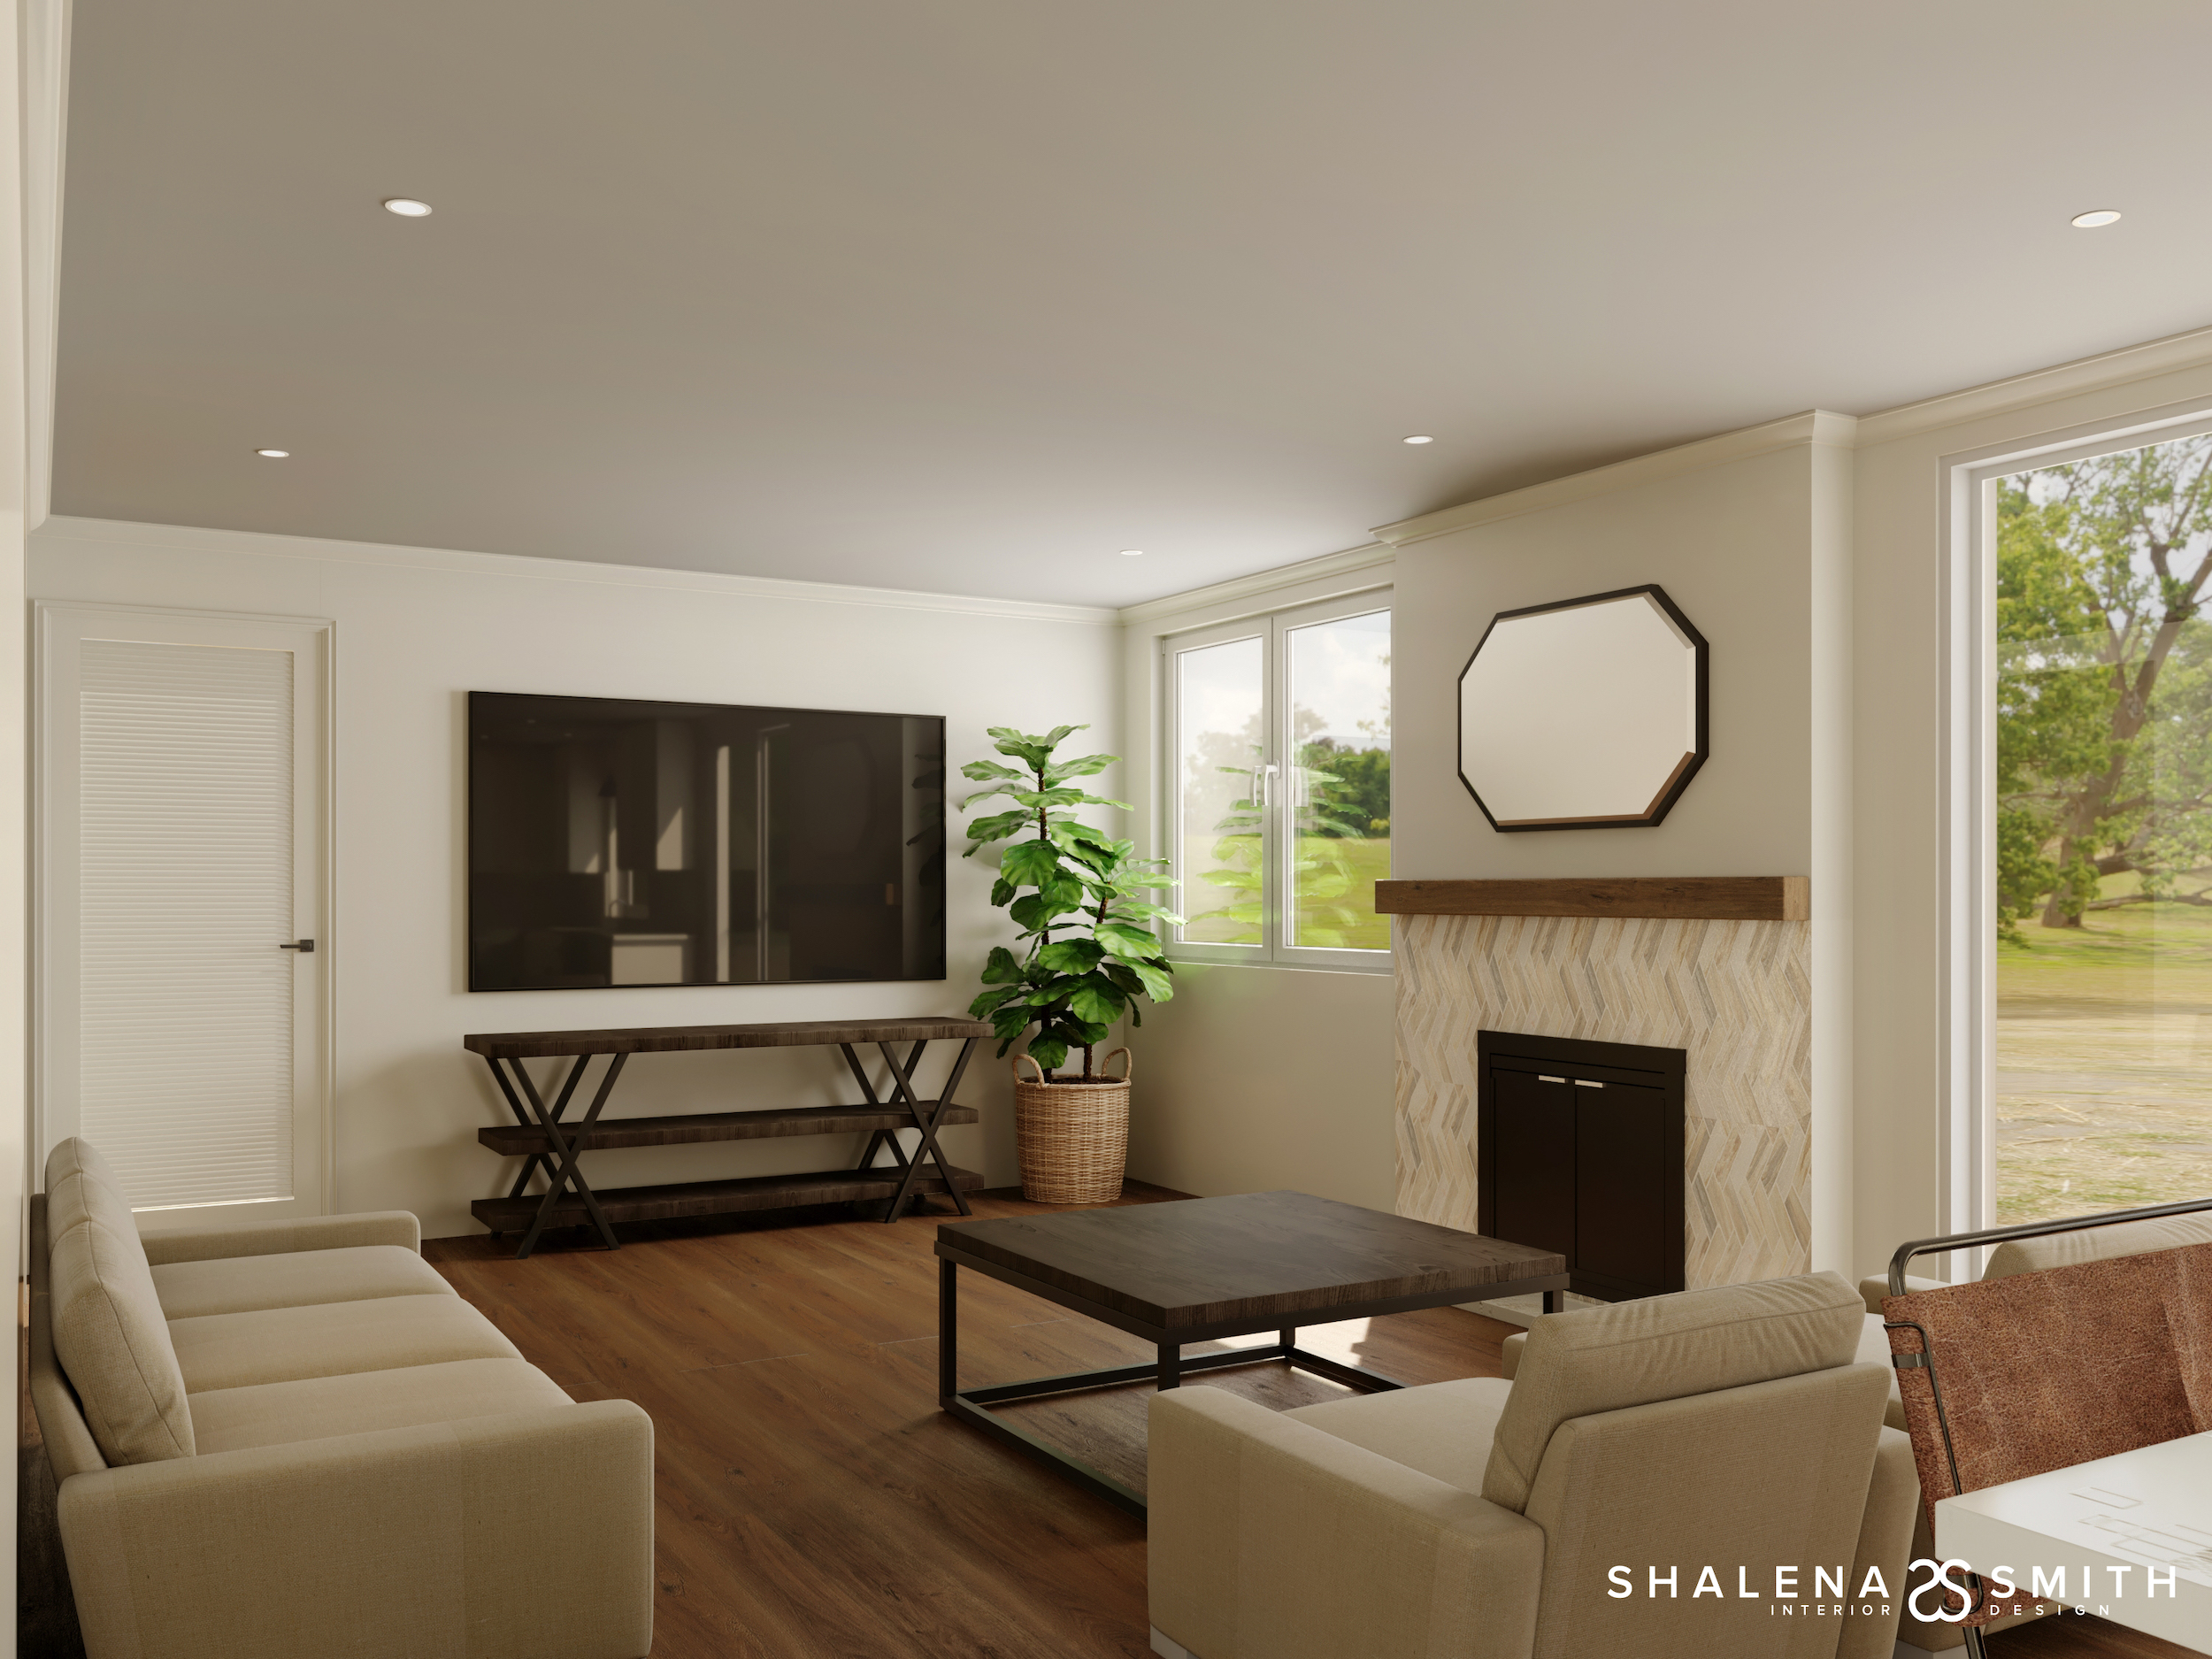
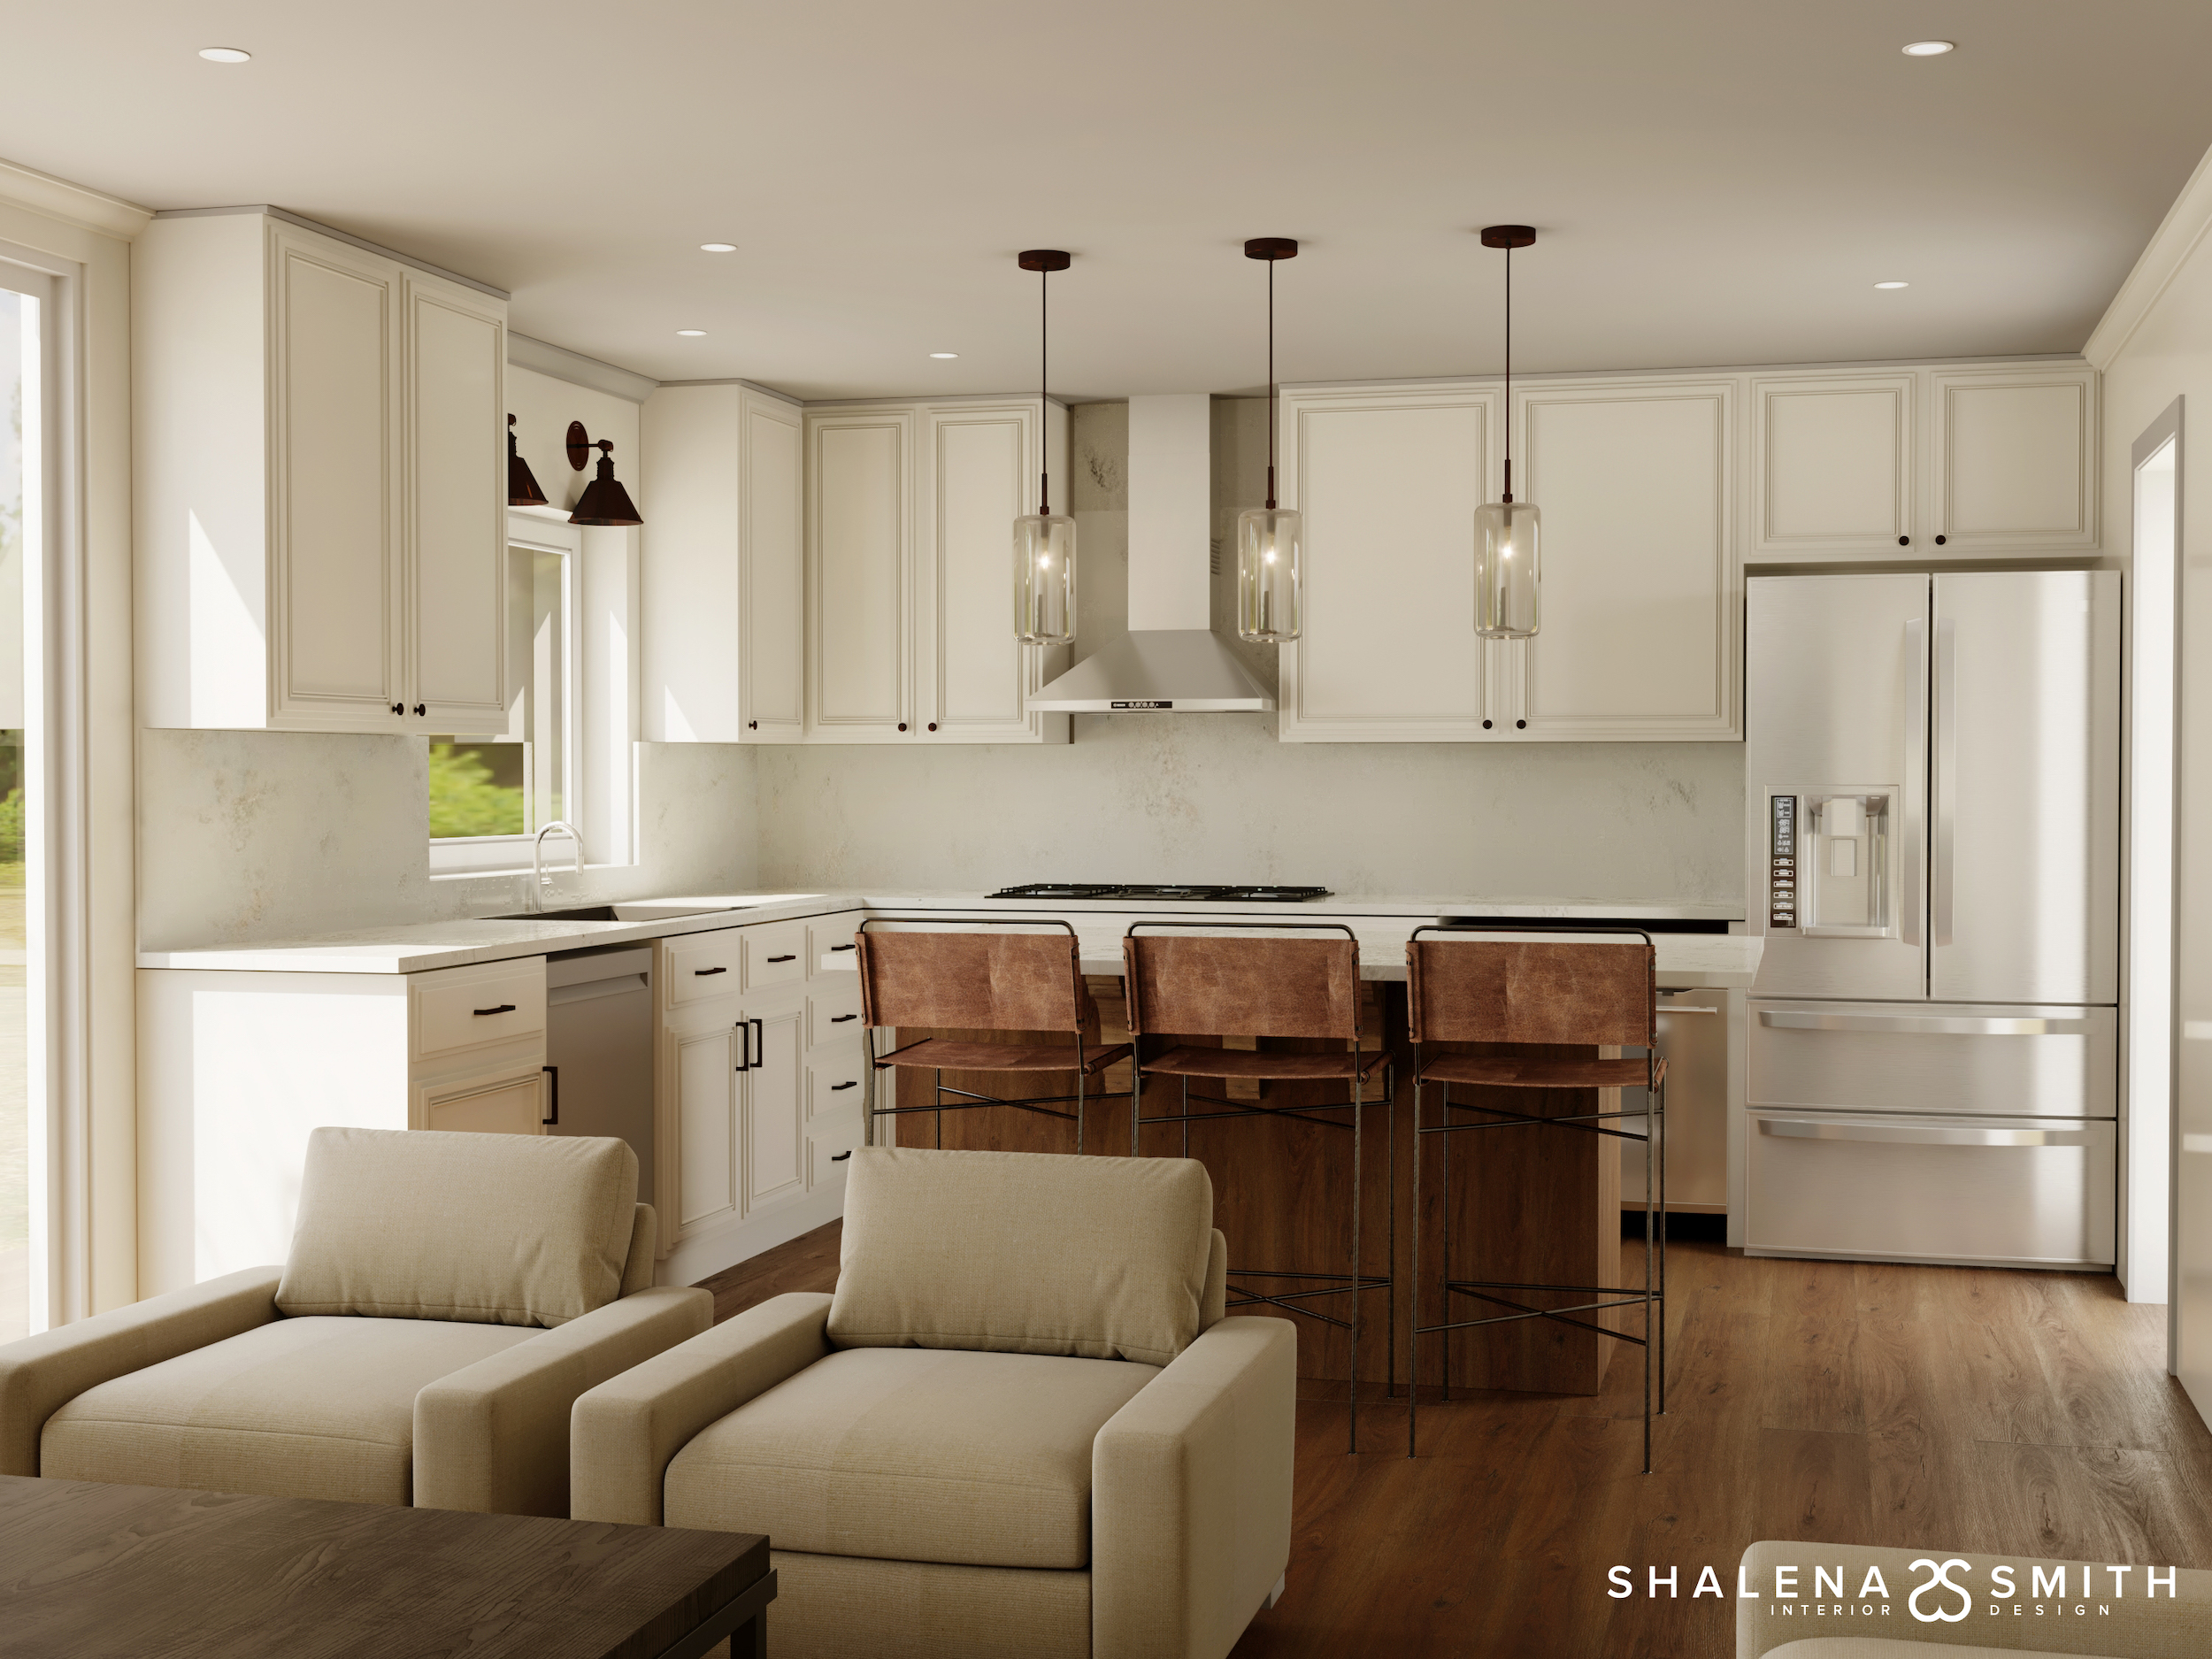
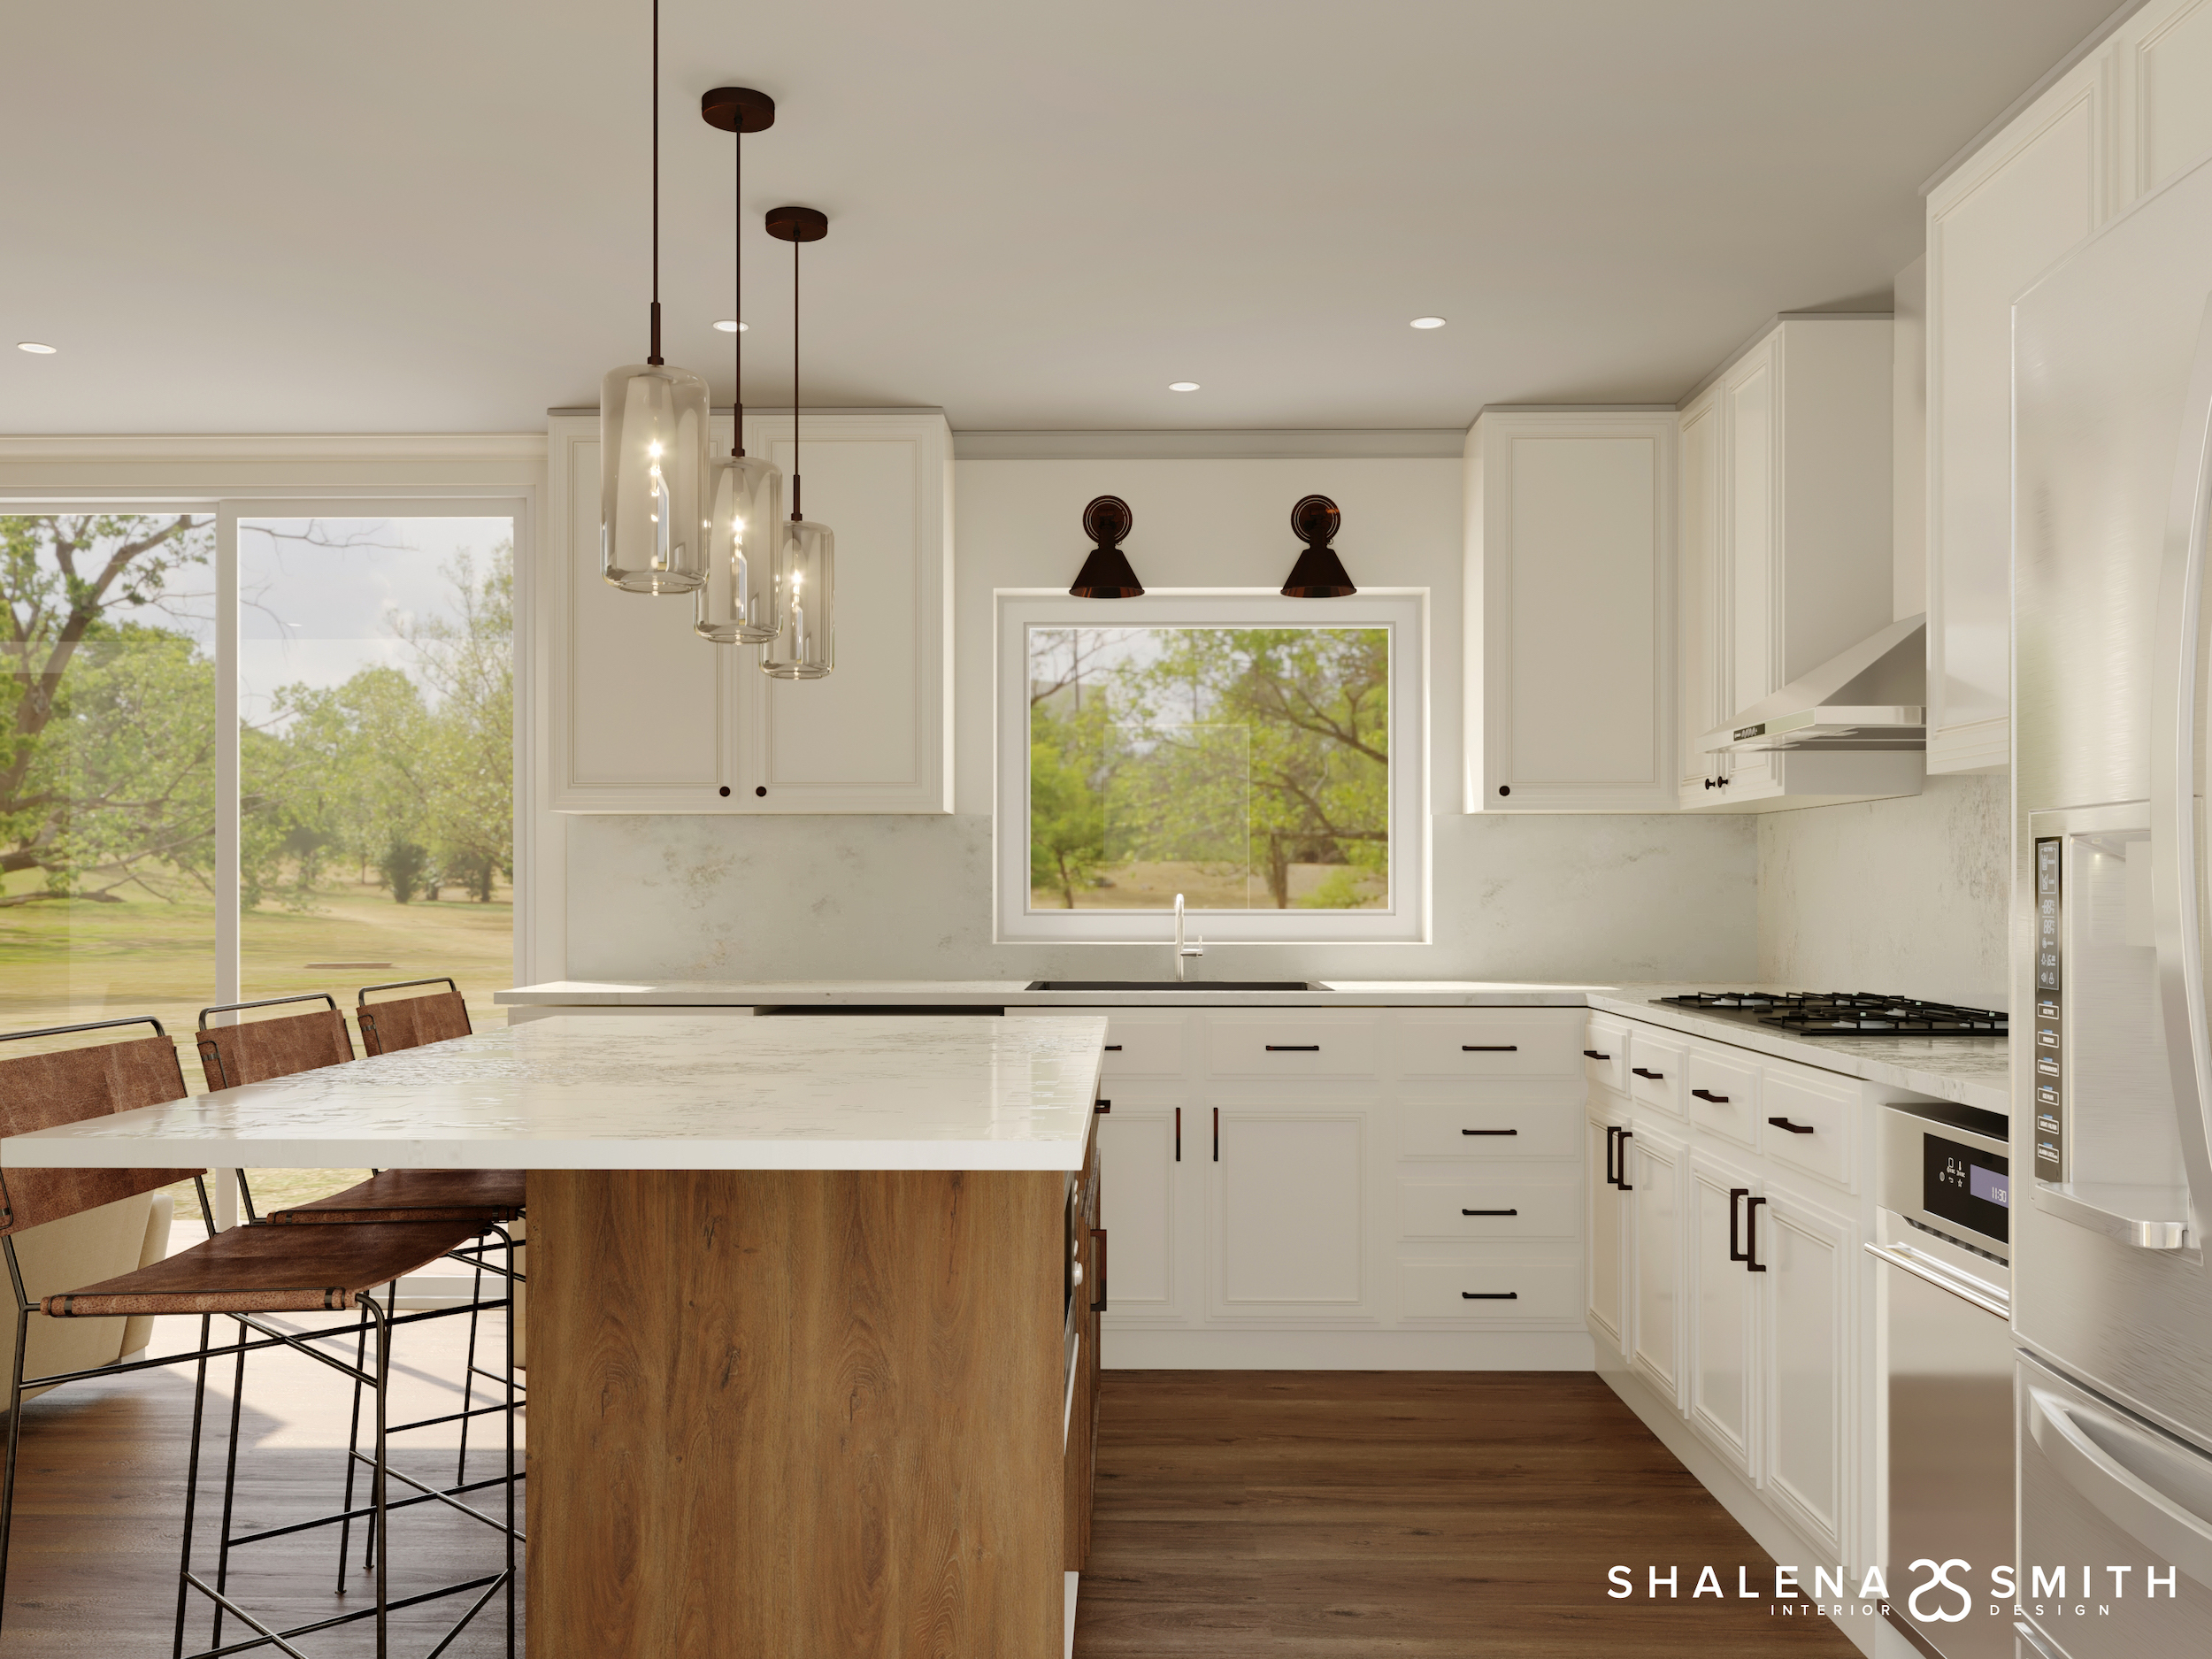
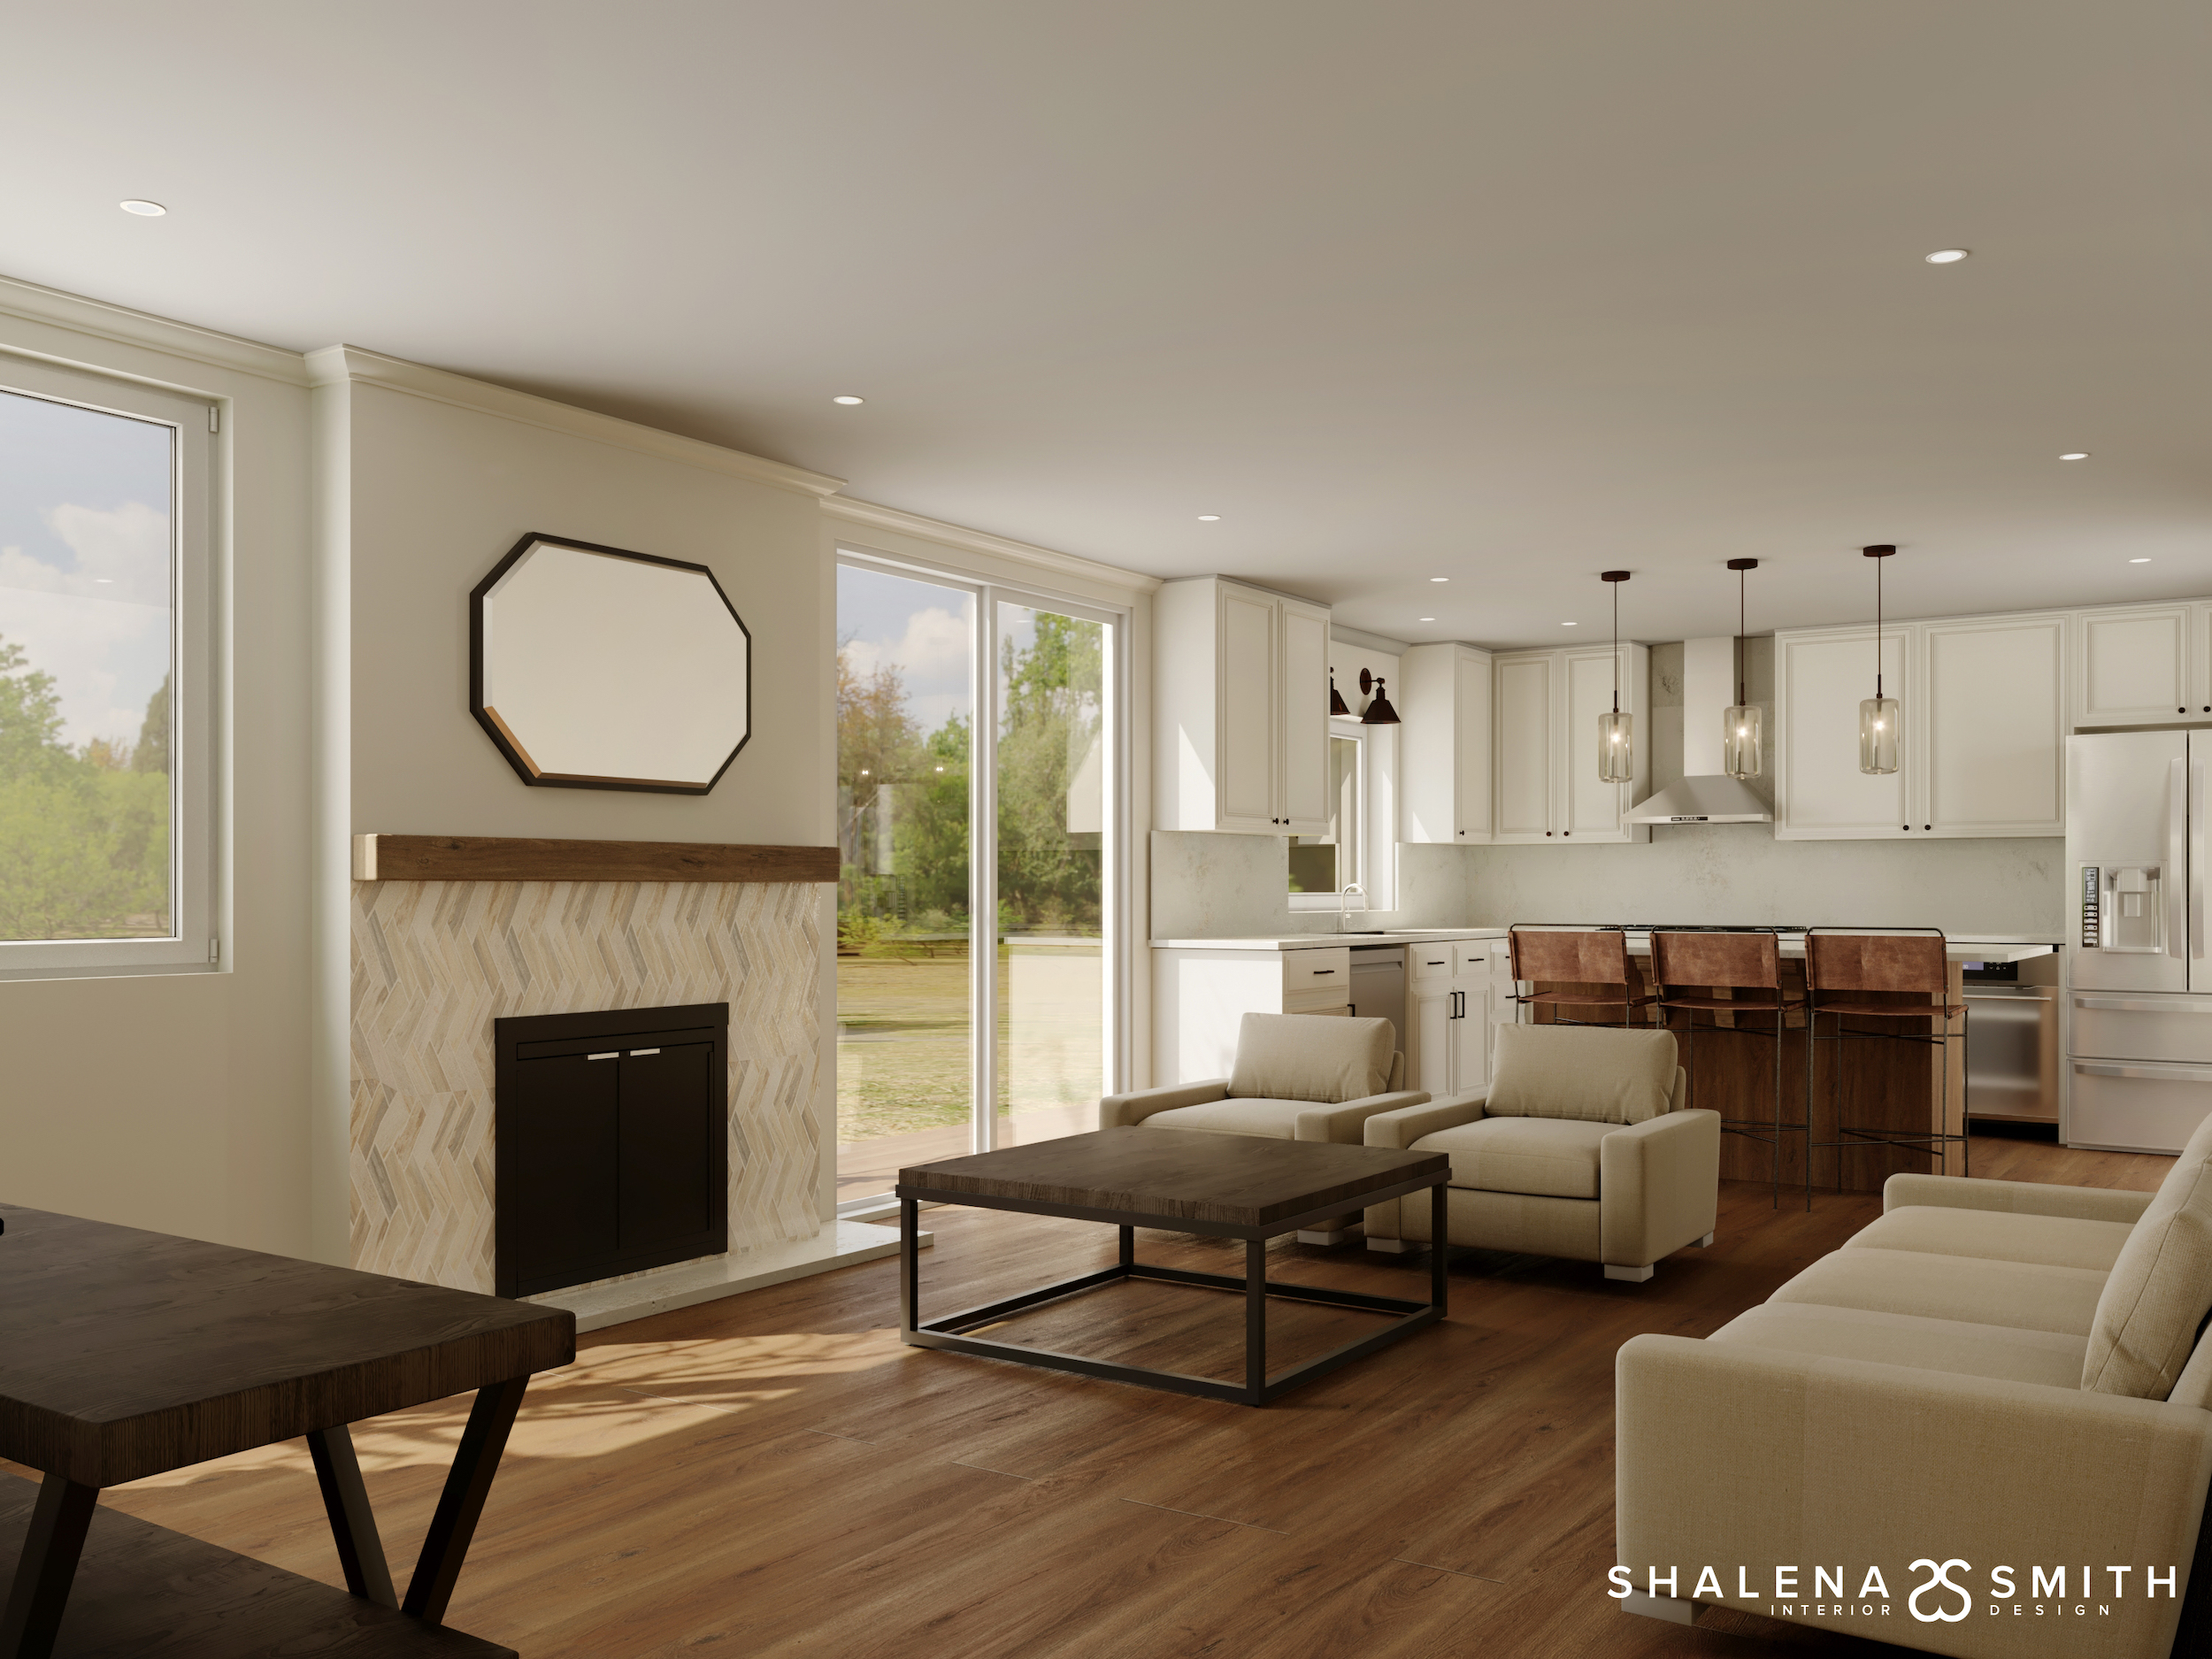
The next phase is construction and then the reveal is coming very soon!!! Please share this blog with friends and family that either love design ideas or if they’re looking to remodel their home or office. I look forward to sharing with them too!!
xoxo, Shalena
Subscribe Today
Get my latest F Words directly to your inbox the second it is posted.
